Turn a Reel into carousel copy
Use your own published Reel as the source, draft slide copy with a connected assistant, then design and review the carousel yourself.
- Start with
- A readable transcript from your own connected Instagram Reel.
- Work toward
- Slide copy, a caption and a design brief to finish in a design tool.
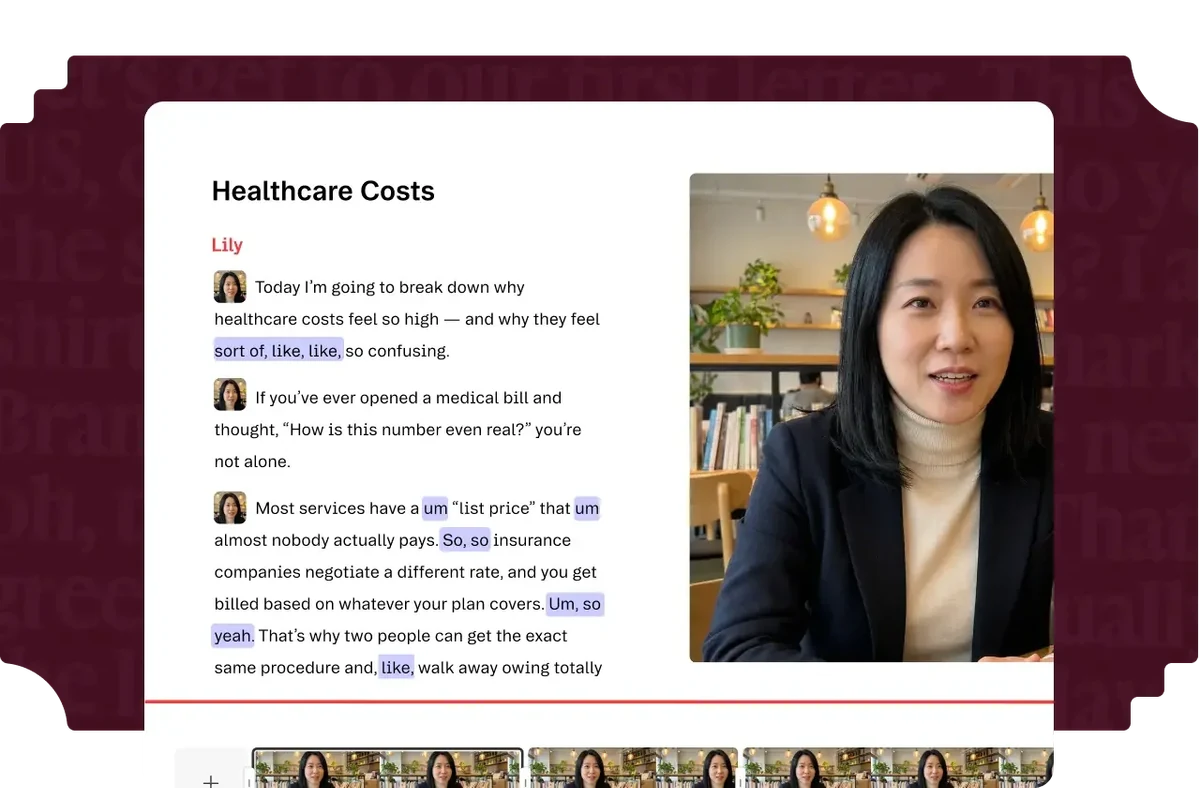
Select a Reel and retrieve its available transcript and source link.
Use Mysocial
Paste the reviewed copy, choose your visuals and check the design before exporting.
 Claude
  ChatGPT
 Adobe Express
Before you start. Reel transcripts require Mysocial Intelligence and available source data. The assistant needs connector access; ChatGPT availability depends on your plan, workspace and admin settings. Design assets and exports have their own plan limits.
How these tools work together
Documented connection Authorize the Mysocial MCP connection to read your available account context in Claude.
Documented connection Use the documented ChatGPT Web custom-app setup where your account and workspace allow it.
Manual handoff Copy the reviewed text into your design. This recipe does not rely on an assistant-to-editor integration.
Manual handoff Paste reviewed text into a design and supply your own usable visuals.
A bounded prompt preserves source facts and returns slide copy plus design notes. Own Instagram source, Mysocial Intelligence for transcripts and a connected assistant.
Instagram supplies the source; Claude helps draft the copy. Connect your Instagram account to Mysocial, then authorize Mysocial in Claude.
Use the same source with another supported assistant, subject to connector access. ChatGPT Web custom-app access depends on your plan, workspace and admin settings.
 Notion
 Buffer
  Later Social
  Hootsuite
 Metricool
 Linktree
  Beacons